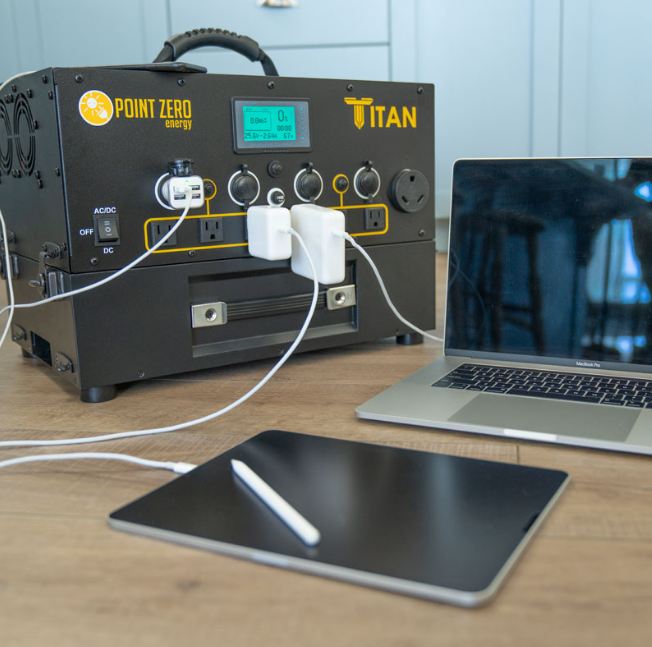
The Titan Solar Generator is one of the best picks for folks shopping for a home backup solar generator. It also works great as an off-grid power system thanks to its expandable design.
Like other power stations, the Titan solar generator is mostly plug and play. But some parts like adding more batteries or connecting solar panels can be a bit more challenging.
If you’ve just bought the Titan solar generator or you are thinking about getting one, this post will guide you through the set up process and how to operate it.
Remember to always follow the included user manual for specific guidelines and instructions.
Titan Solar Generator: What’s In The Box?
The first step is to identify everything that’s included in the package.
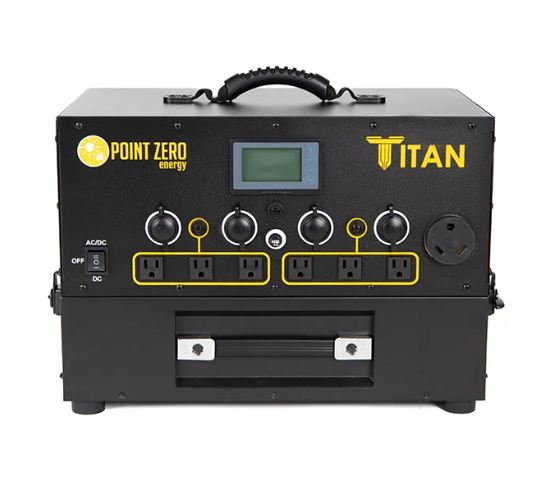
If you order the base model, you’ll receive the power module, a single battery pack, an 14A AC charger, an MC4 to SAE cable (for jump starting the battery with solar) and an MC4 to anderson adapter for solar charging.
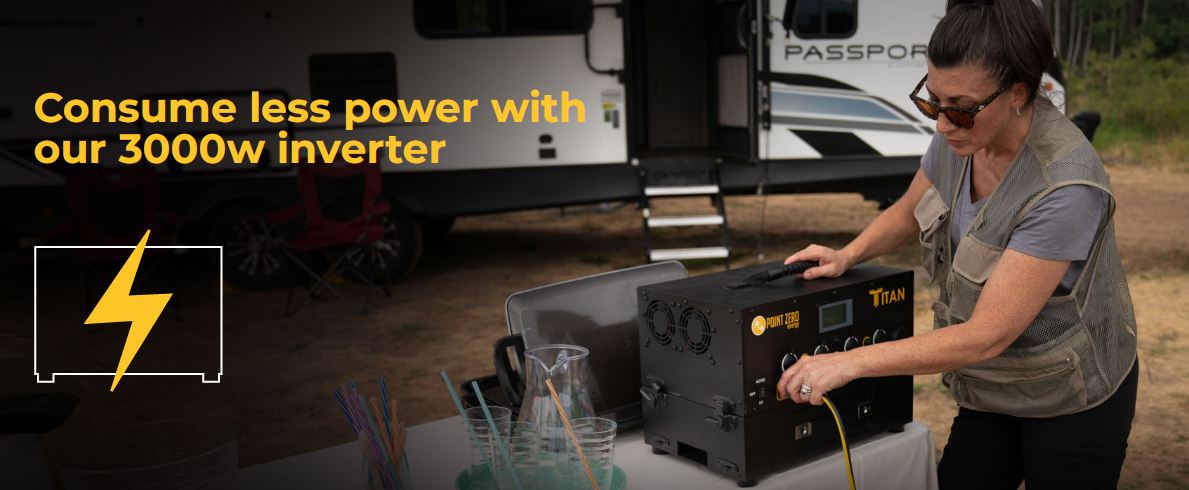
The power module has a built-in inverter that outputs 3000W of continuous power and up to 6000W of surge power.
It also comes with six built-in AC outlets, a 30A RV outlet and four 12V DC outlets. The power module also includes two MPPT charge controllers with a max input of 1000W each.
The battery pack is a lithium ion battery with a capacity of 2000Wh (or 74Ah at 29.4V).
When ordering, you can upgrade to a 25A AC charger, add USB-A and USB-C adapters and order extra battery packs.
You can also order one of the Titan solar generator kits that come pre-configured with all the main components you need for a solar system.
The kits include the main power module, one or multiple batteries depending on the kit you order, solar panels, plus various cables and connectors.
The only thing that’s not included is a stand or mounting hardware for the rigid and flexible solar panels.
How To Set Up The Titan Solar Generator
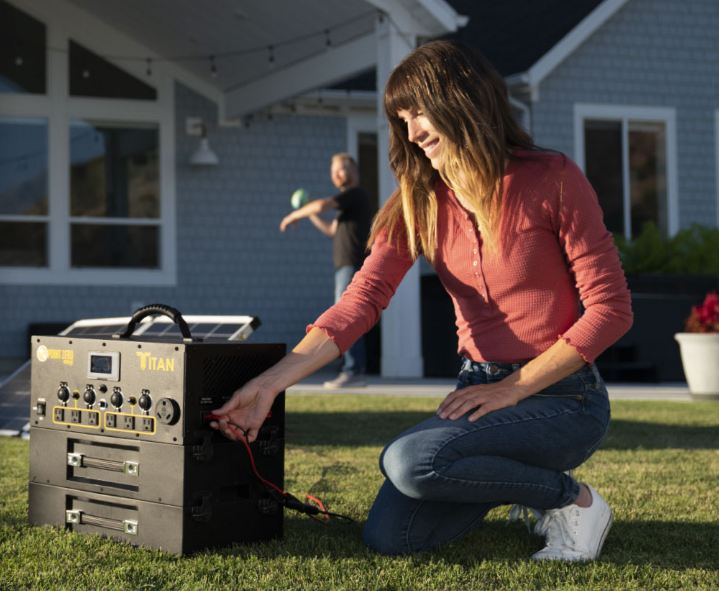
The Titan solar generator doesn't really need any set up. It’s a plug and play power station since everything is neatly built into the power module.
That said, there are a couple things you need to do before you can start running appliances and electronics off the Titan.
Your Titan solar generator is ready to use.
Note: If you ordered multiple battery packs, see the section on ‘Connecting Multiple Battery Packs To The Titan Solar Generator’. If you also ordered solar panels, we also have a detailed section below on how to wire them.
How To Operate The Titan Solar Generator
Using The AC Outlets
Using the Titan solar generator is as simple as plugging appliances into one of the six AC outlets. Each outlet is rated at 120V.
All the outlets combined can produce up to 3000W of continuous power. So you’ll need to do some calculations to make sure you don't exceed that consumption when running multiple appliances.
Something else to keep in mind is the amperage of the appliances.
The outlets are divided into two sets of three outlets each. Each set is protected by a 15A fuse. If you have two big appliances that pull a lot of current, plug into the outlets on the right side and the other into the left outlets.
If you need to run an appliance that draws more than 15 amps, use the 30A RV outlet.
By the way, remember to turn the power switch to AC/DC when using the AC outlets. Turn it off when no appliance is plugged in to prevent the idle inverter from wasting power. It uses about 10 watts when nothing is drawing power.
Using The DC Outlets
If you are just powering DC appliances and electronics, turn the switch to the DC position. This keeps the inverter turned off and saves power.
There are four 12V regulated DC outlets. The combined max current output of all the outlets is 20A.
Using The Battery Meter
The Titan solar generator has a basic display, not the large and bright displays on most modern solar generators.
But it has all the important info you need to know. The display is just a battery meter showing how much capacity is left in the battery and the approximate run time remaining.
It also shows battery voltage, current and power. An arrow indicator tells you whether the battery is charging or discharging.
Connecting Multiple Battery Packs To The Titan Solar Generator
You can add an unlimited number of battery packs to the Titan solar generator. This makes it easy to expand capacity to support your power needs.
Each battery pack adds a 2000Wh capacity.
One of the things I like about Titan is how easy it is to add extra batteries. You don't need to do any wiring or get a special connector.
The same way you stacked the power module onto the battery pack is the same way you stack additional batteries.
Here are the steps to follow.
If, in the future, you remove or add batteries, you’ll need to repeat this process. Adjust the amp-hours on the battery meter and ensure each battery is charged to the same voltage before stacking.
Charging The Titan Solar Generator From A Wall Outlet
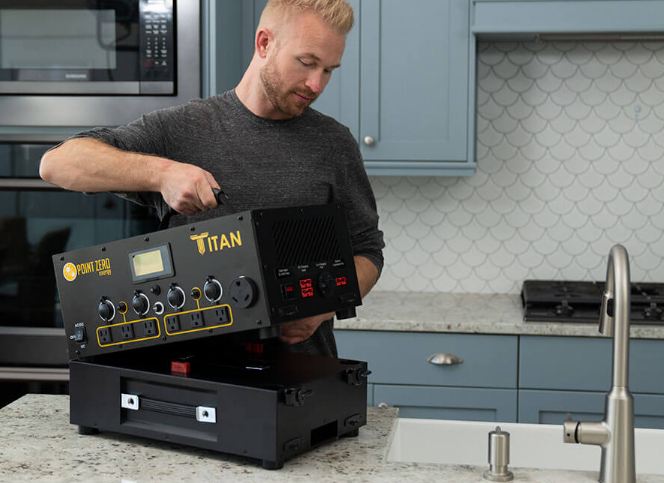
The easiest easy to recharge the Titan solar generator is using the included wall charger. The base model comes with a 14A charger.
Plug the charger into a wall outlet and the other end with the red plug into the solar generator’s AC charging port. Turn the AC charging switch on.
You’ll know the solar generator is fully charged when the display shows 100% or the voltage shown is at least 29V.
You can leave the AC charger connected if you want the battery to stay charged.
The 14A charger puts in up to 406W of power. So it’ll take about 5 hours to full charge a single battery pack.
Charging The Titan Solar Generator With Solar Panels
You can also charge the Titan solar generator with solar panels.
Titan has two MPPT charge controllers with an input port for each. But unless you buy an extra battery, you can only use one of the Anderson ports.
Each port accepts up to 1000W of solar power. So if you have two or more battery packs, you can put in up to 2000W of solar power.
Input voltage range for each solar charging port is 35V to 145V. So that means you’ll need at least two 12V solar panels to achieve the minimum voltage. 12V solar panels have an actual voltage of 17-22V, so a single one won’t be enough.
The manufacturer says you can exceed 1000W of input, but the charge controller will only accept 1000W. But this can be handy on less sunny days. Having more solar panels lets you get closer to the 1000W max input.
What you should be extremely careful about is staying below an input of 145V.
Point Zero Energy has helpful series and parallel wiring diagrams in the user manual as well as on their website. Follow the examples shown to ensure you stay within a safe voltage range.
Note that these diagrams only apply if you buy solar panels from Point Zero Energy. If you use third party solar panels, it’s up to you to make sure you wire them properly.
Charging The Titan Solar Generator With Your Vehicle
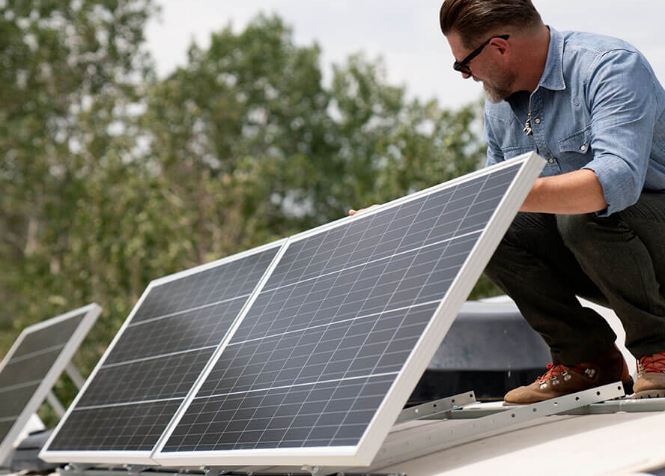
You can charge the Titan solar generator from your vehicle's 12V/24V DC socket. This is handy when you are on the road or if you plan to use the Titan in your RV or camper van.
Point Zero Energy doesn't include the car charger in the base model. It’s only available as a paid add-on.
Before you order the car charger, keep in mind that car charging is super slow. It puts in only 85W of power, meaning it would take about 24 hours to fully recharge a single battery pack.
Car charging is only ideal for topping up the solar generator when you are going camping or overlanding. If you plan to set up the Titan solar generator permanently in your RV, camper van, truck, boat or home, solar and AC charging make the most sense.
How To Charge The Titan Solar Generator Faster
Here are a few tips for charging the Titan solar quicker.
How To Integrate The Titan Solar Generator Into Your Home
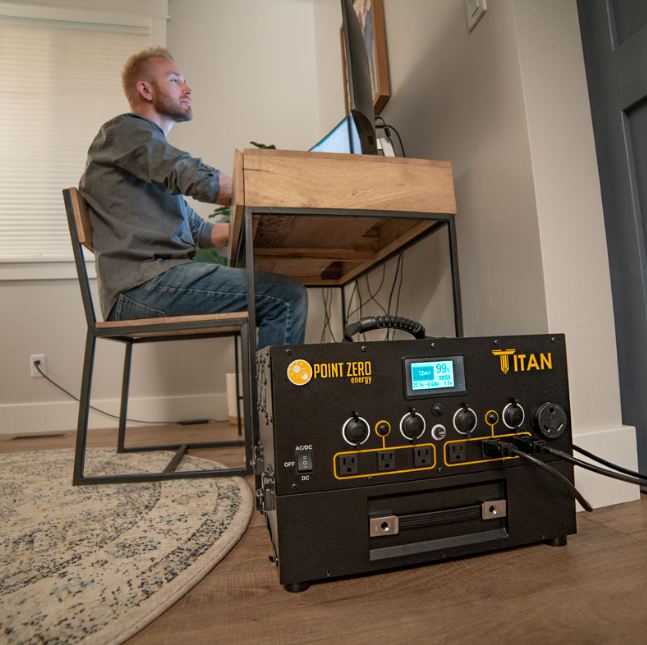
You can set up the Titan solar generator to deliver power directly to outlets in your home. That way, you can power appliances and charge your devices normally from wall outlets.
You’ll need to integrate the solar generator into your home grid. Get a licensed electrician to do this.
Keep in mind, however, that the Titan solar generator cannot power your entire home due to its 3000W power output limit.
I recommend selecting a couple or so essential circuits that you want to power with the solar generator.
There are two integration options.
One, you can take the selected circuits completely off-grid and connect them to the Titan solar generator using a separate breaker panel.
Two, you can wire selected circuits to the Titan solar generator using a manual or automatic transfer switch. When there is a blackout, Titan will provide backup power to these circuits.
I highly recommend getting an electrician to do this as it is complicated and dangerous.
How to Jumpstart A Dead Titan Solar Generator Battery
If the battery pack gets deeply discharged beyond the normal level, the Titan solar generator will not start up.
This usually happens when you store the solar generator for a long time, especially if you store it without first charging it.
If you have access to mains power, plug the solar generator into a wall outlet and leave it to charge.
If your only option is solar, you’ll need at least two solar panels to jump start the battery. Connect the solar panels to the car charging port using the provided MC4 to SAE cable.
After five minutes, turn on the solar generator to DC mode. If the battery meter shows a voltage of 20V or more, you can unplug the solar panels and charge the Titan through the normal solar charging port.
How To Store The Titan Solar Generator
The manufacturer recommends charging all batteries to at least 50% before storage. Turn the switch off and keep the solar generator in a cool dry place.
Every 3-6 months, recharge the batteries. This helps extend their lifespan.

